7 Hoop Problems and the Adjustment That Fixes Each One
Quick Answer: Most hoop problems trace to three variables: hoop size and weight, the direction and rhythm of your hip movement, and where the hoop sits on your torso. Size and rhythm fix dropping; padding and load management fix bruising; deliberate practice fixes one-directional spin.
The frustrating thing about hooping is how sharply it divides into working and not working. When the rhythm is right it feels effortless; when it is not, the hoop is on the floor every eight seconds.
Here are seven specific problems and the adjustment for each.
1. It keeps falling within a few rotations
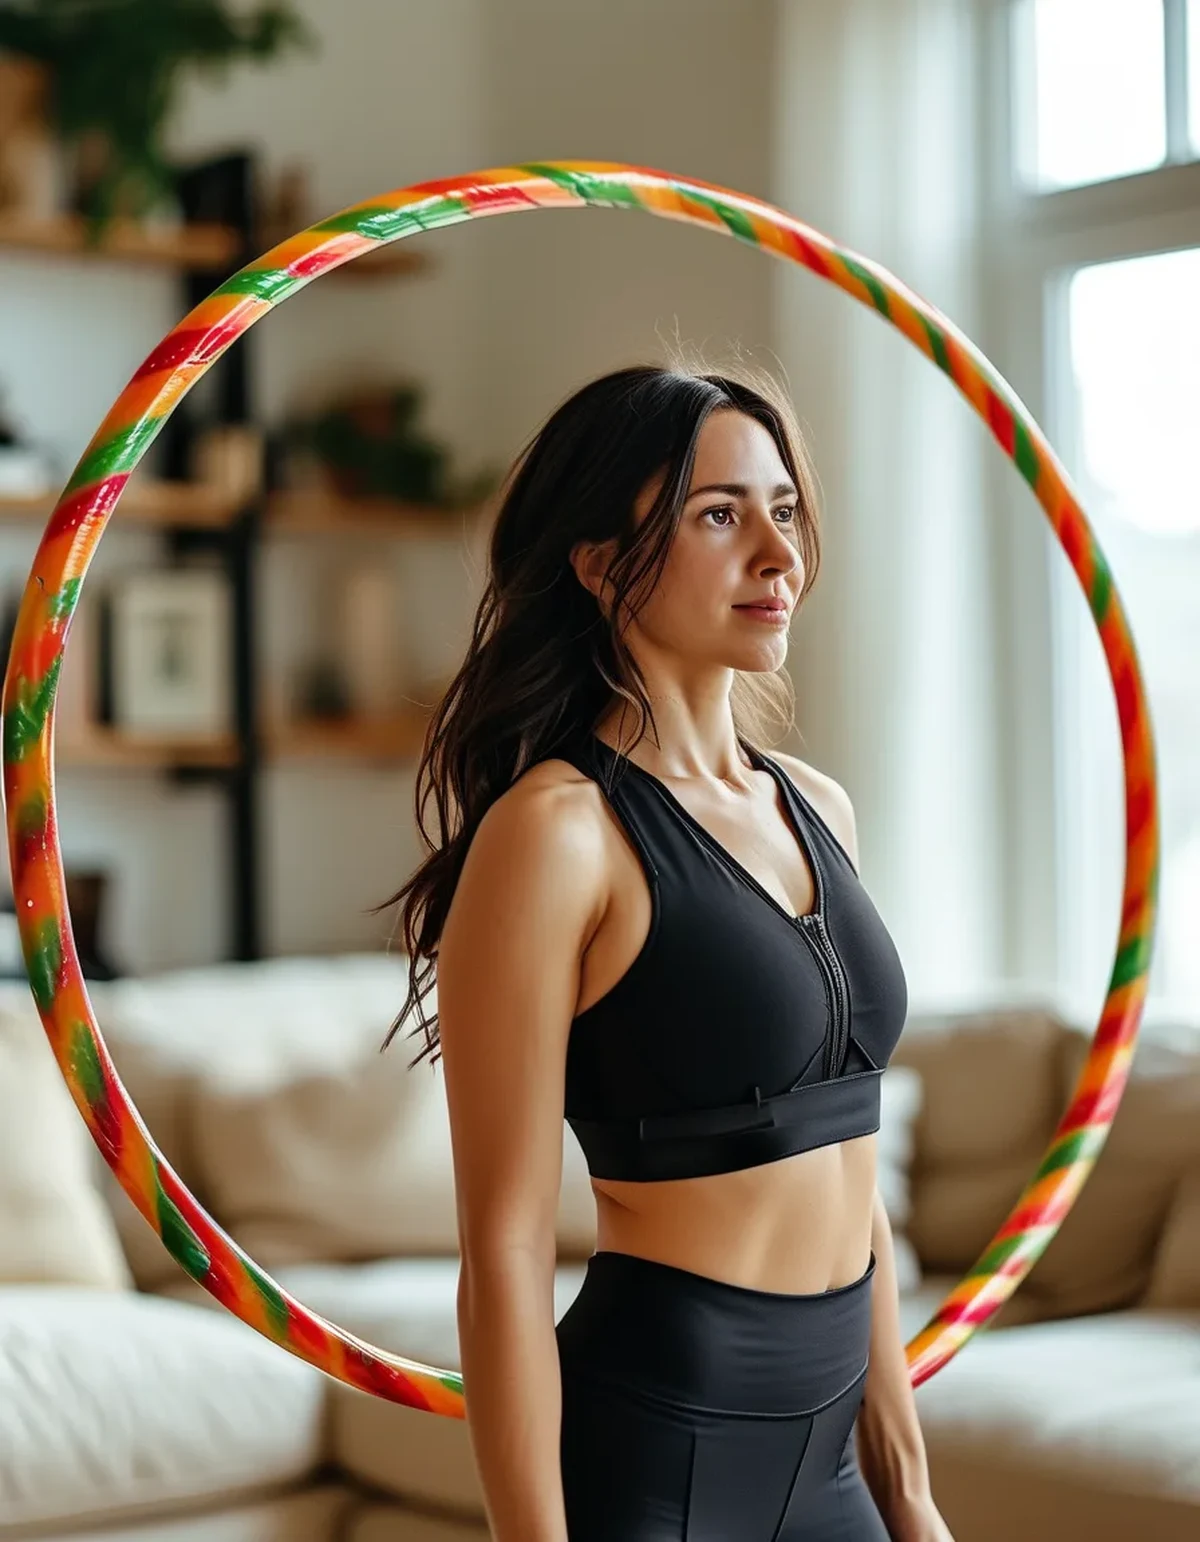
Most likely cause: the hoop is too small or too light for a beginner, or your movement is circular rather than front-to-back.
Bigger and heavier hoops rotate more slowly, which gives you far more time to react. A large, weighted hoop is much easier to learn with than a small light one, which is the opposite of what most people assume. Children’s hoops are the hardest possible starting point.
Size guide: standing the hoop upright, it should reach somewhere between your waist and mid-chest. Weight of 0.5 to 1.5 kg suits most beginners.
The movement fix: the instinct is to swing the hips in a circle. The effective motion is a front-to-back push — belly forward, then bottom back — timed to meet the hoop as it passes. Think of pushing the hoop each time it touches your front, then again as it comes round.
Stagger your stance, one foot slightly ahead. It makes the front-to-back rhythm far easier to produce and is the single most effective beginner adjustment.
2. You are bruising
Most likely cause: too much load, too soon, on tissue that has not adapted.
Some bruising is common in the first weeks, particularly with heavier hoops and particularly over the hip bones and lower back where there is less soft tissue. It is caused by repeated impact against the same points.
The fix, in order: reduce session length before reducing frequency — three 10-minute sessions produce far less bruising than one 30-minute session, with the same total volume. Wear a thicker or double layer over the area. Change the hoop’s height on the torso slightly, so contact points shift. Drop to a lighter hoop for two weeks and rebuild.
When to stop: bruising that is severe, that appears after very light use, or that comes with pain rather than tenderness is not normal adaptation. Persistent pain over the lower back or hip bones, or any pain that continues between sessions, warrants a break and a medical opinion.
Anyone taking blood thinners, or who bruises unusually easily, should be considerably more conservative here. This is general information, not medical advice.
3. It only works in one direction
Most likely cause: completely normal asymmetry, plus zero practice in the other direction.
Almost everyone has a dominant hooping direction, and it corresponds to preferred rotational direction elsewhere. It is not a problem in itself.
It becomes worth addressing for two reasons. Repeatedly loading rotation in one direction creates asymmetric muscular development over months. And practising the non-dominant direction improves overall coordination noticeably, including in your strong direction.
The fix: start every session with two to three minutes in the non-dominant direction, before fatigue. Expect it to feel genuinely incompetent for one to two weeks — this is normal and it does resolve.
A useful trick: start the hoop with your dominant hand’s push but in the non-dominant direction, and count the rhythm aloud. Externalising the timing bypasses some of the coordination gap.
4. Your lower back aches afterwards
Most likely cause: excessive lumbar extension, usually from arching to keep the hoop up.
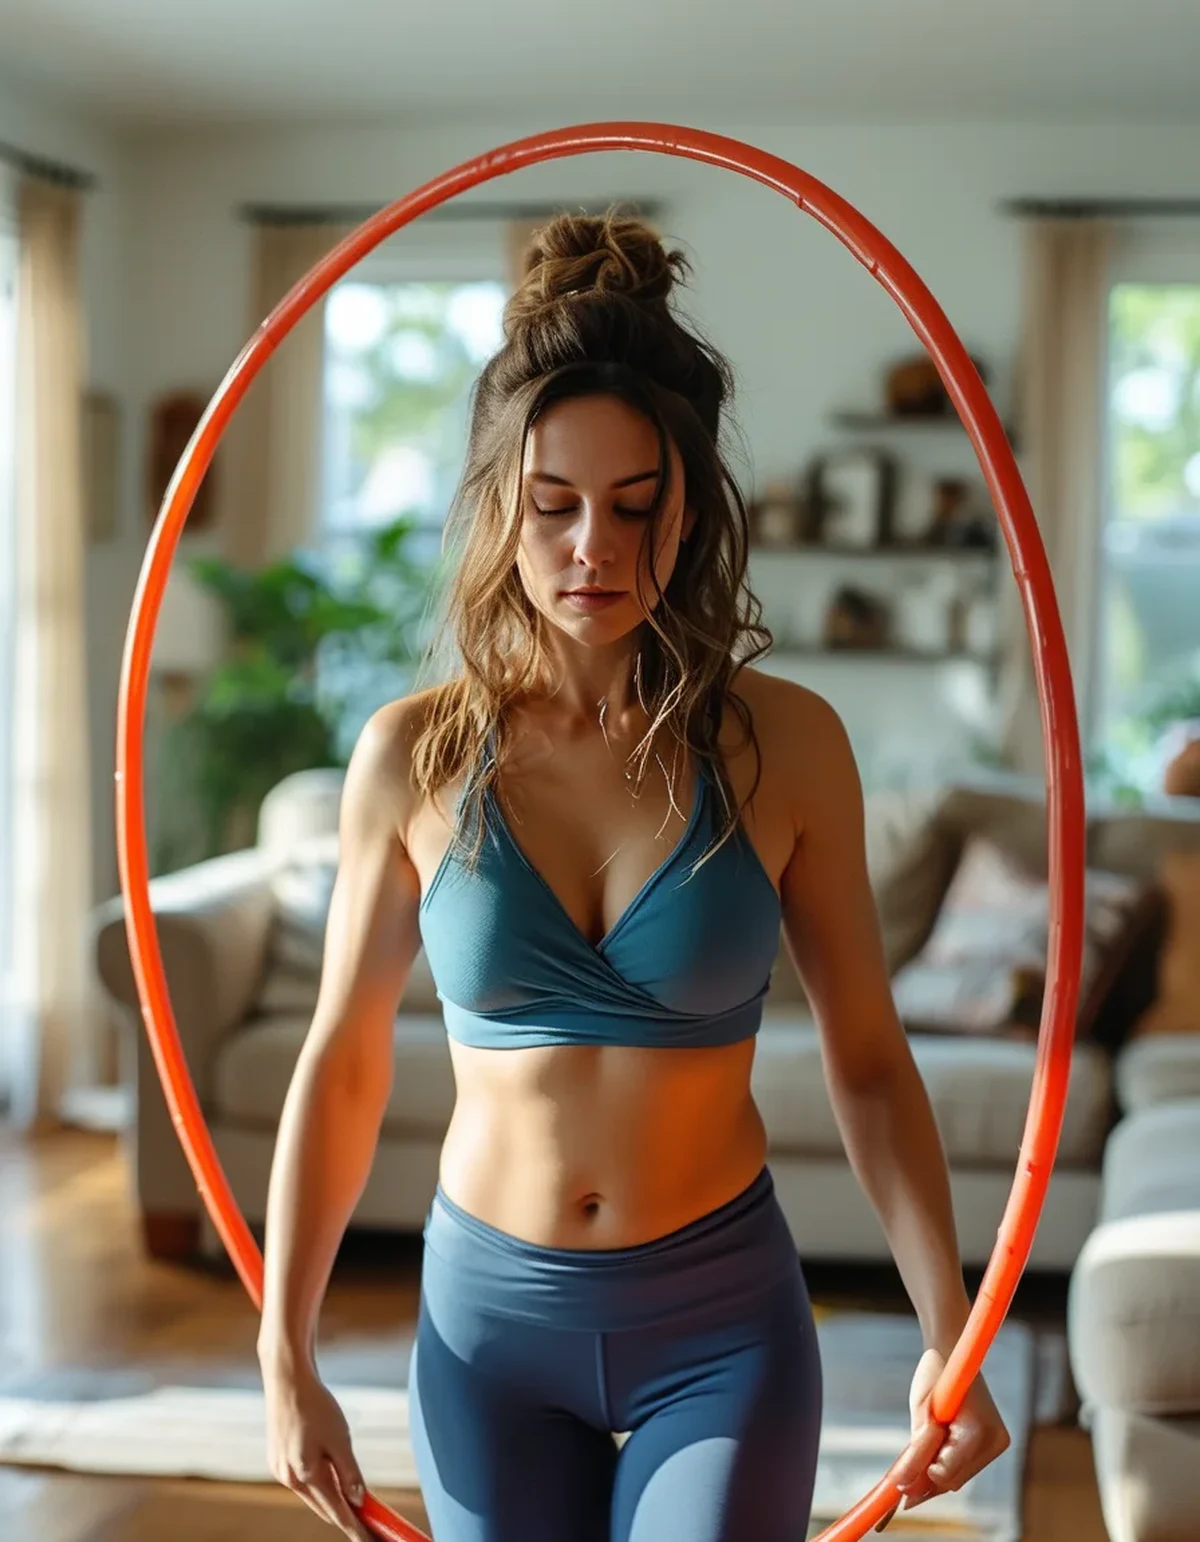
The correct hooping posture is close to neutral: ribs stacked over pelvis, core lightly engaged, movement coming from a subtle push at the hips rather than from arching and un-arching the lower back.
When the rhythm is off, people compensate by increasing the range of the arch, which loads the lumbar spine repeatedly under rotation. Twenty minutes of that produces exactly the ache people describe.
The fix: shorten the movement. The correct hip push is smaller than most beginners produce — a few centimetres, not a full pelvic swing. Engage the abdominals lightly throughout, as if bracing for a gentle poke. Check in a mirror or on video: your ribcage should stay stacked over your pelvis, not flared.
If the ache persists with correct form, reduce hoop weight. A heavier hoop demands more force to keep up, and that force is easiest to generate by arching.
5. You stall at the same skill for weeks
Most likely cause: practising the outcome rather than the components.
Hooping skills — moving the hoop up and down the body, hand hooping, transitions — are composed of distinct sub-skills, and attempting the whole movement repeatedly trains none of them specifically.
The fix: decompose. To move a hoop from waist to chest, practise only the increase in speed that lifts it, without attempting the full transition. Practise the chest-level hooping separately, starting the hoop there by hand. Then join them.
Practise where you fail sometimes but not always. If you succeed every attempt, it is too easy to produce learning; if you fail every attempt, there is no signal to learn from. The productive zone is roughly 60 to 80 percent success.
Short and frequent beats long and occasional. Ten minutes of skill work daily produces more progress than an hour once a week, because motor learning consolidates between sessions.
6. Inconsistent intensity, and plateaued results
Most likely cause: intensity in hooping comes from continuity, and small technique variations change it substantially.
An uninterrupted 20 minutes at a steady rhythm is a genuine moderate-intensity cardio session. The same 20 minutes with a drop every 30 seconds is 20 minutes of intermittent light activity, and it will not feel comparable.
The fix: measure continuity, not duration. Time your longest unbroken run and track that number. Improving it from 40 seconds to four minutes is what turns hooping into meaningful conditioning.
To increase intensity once continuity is solid: add arm movements overhead, walk while hooping, step side to side, or alternate 60 seconds fast with 60 seconds steady.
A realistic expectation: hooping sits in the moderate-intensity range for most people, comparable to a brisk walk or light cycling. It is genuinely useful for that, and it is not a high-intensity substitute.
7. You have plateaued on results
Most likely cause: the same session, at the same intensity, for months — the standard adaptation plateau.
Any activity performed identically stops driving change once the body has adapted, typically within six to twelve weeks. Hooping is not exempt.
The fix: progress one variable at a time. Duration, continuity, hoop weight, movement complexity, or the addition of intervals. Change one, hold the rest, and give it three weeks before changing another.
And be realistic about what hooping does. It is a moderate cardio activity that trains core endurance, coordination, and rotational control. It does not spot-reduce fat around the waist — spot reduction is not a thing the body does, and the muscular development from hooping is endurance-oriented rather than size-producing.
Putting it together
Bigger and heavier for learning, front-to-back not circular, staggered stance, small hip movement with ribs stacked, and track continuous time rather than session length.
FAQ: Weighted Hoop Questions, Answered
How heavy should a weighted hoop be?
Between 0.5 and 1.5 kg suits most people. Above 2 kg, the impact load rises significantly and bruising becomes much more likely, particularly for beginners. Heavier is not more effective — it mostly makes the hoop easier to keep up while increasing tissue stress.
How long until I can hoop continuously?
Most people reach a few continuous minutes within one to two weeks of short daily practice, and ten-plus minutes within a month. If you are still dropping every few seconds after two weeks, the hoop is probably too small or too light rather than your technique being wrong.
Is hooping safe with a back condition or during pregnancy?
It involves sustained rotational movement and repeated impact against the torso, so anyone with a spinal condition, recent abdominal surgery, or who is pregnant should get individual medical advice first rather than assuming it is low-impact. This is general information, not medical advice.
TL;DR:
- Bigger and heavier hoops are easier to learn with; small light hoops are the hardest starting point.
- The motion is front-to-back with a staggered stance, not a circular hip swing.
- Reduce session length before frequency to manage bruising, and shift the hoop’s height to move contact points.
- Keep ribs stacked over the pelvis — back ache almost always means you are arching to compensate.
- Track longest continuous run rather than total session time.
Almost every hoop complaint comes back to hoop size or hip rhythm. Fix those two and the other five mostly stop happening.
Keep Reading
This article is for general informational and styling purposes only. Fit, sizing, and product availability may vary.