7 Hooping Adjustments for Low Ceilings and Tight Rooms
Quick Answer: With an eight-foot ceiling you lose overhead breaks, most vertical isolations, and anything involving a hoop above your head with your arms extended. What you keep is nearly everything else — waist and chest work, off-body isolations at shoulder height and below, leg hooping, and all transitions. Size the hoop smaller than your outdoor one and work in the horizontal plane.
Cold weather moves practice indoors, and indoors the ceiling arrives faster than you expect.
The good news is that most of the hooping vocabulary lives below shoulder height. Here’s how to keep progressing in a room that fights you.
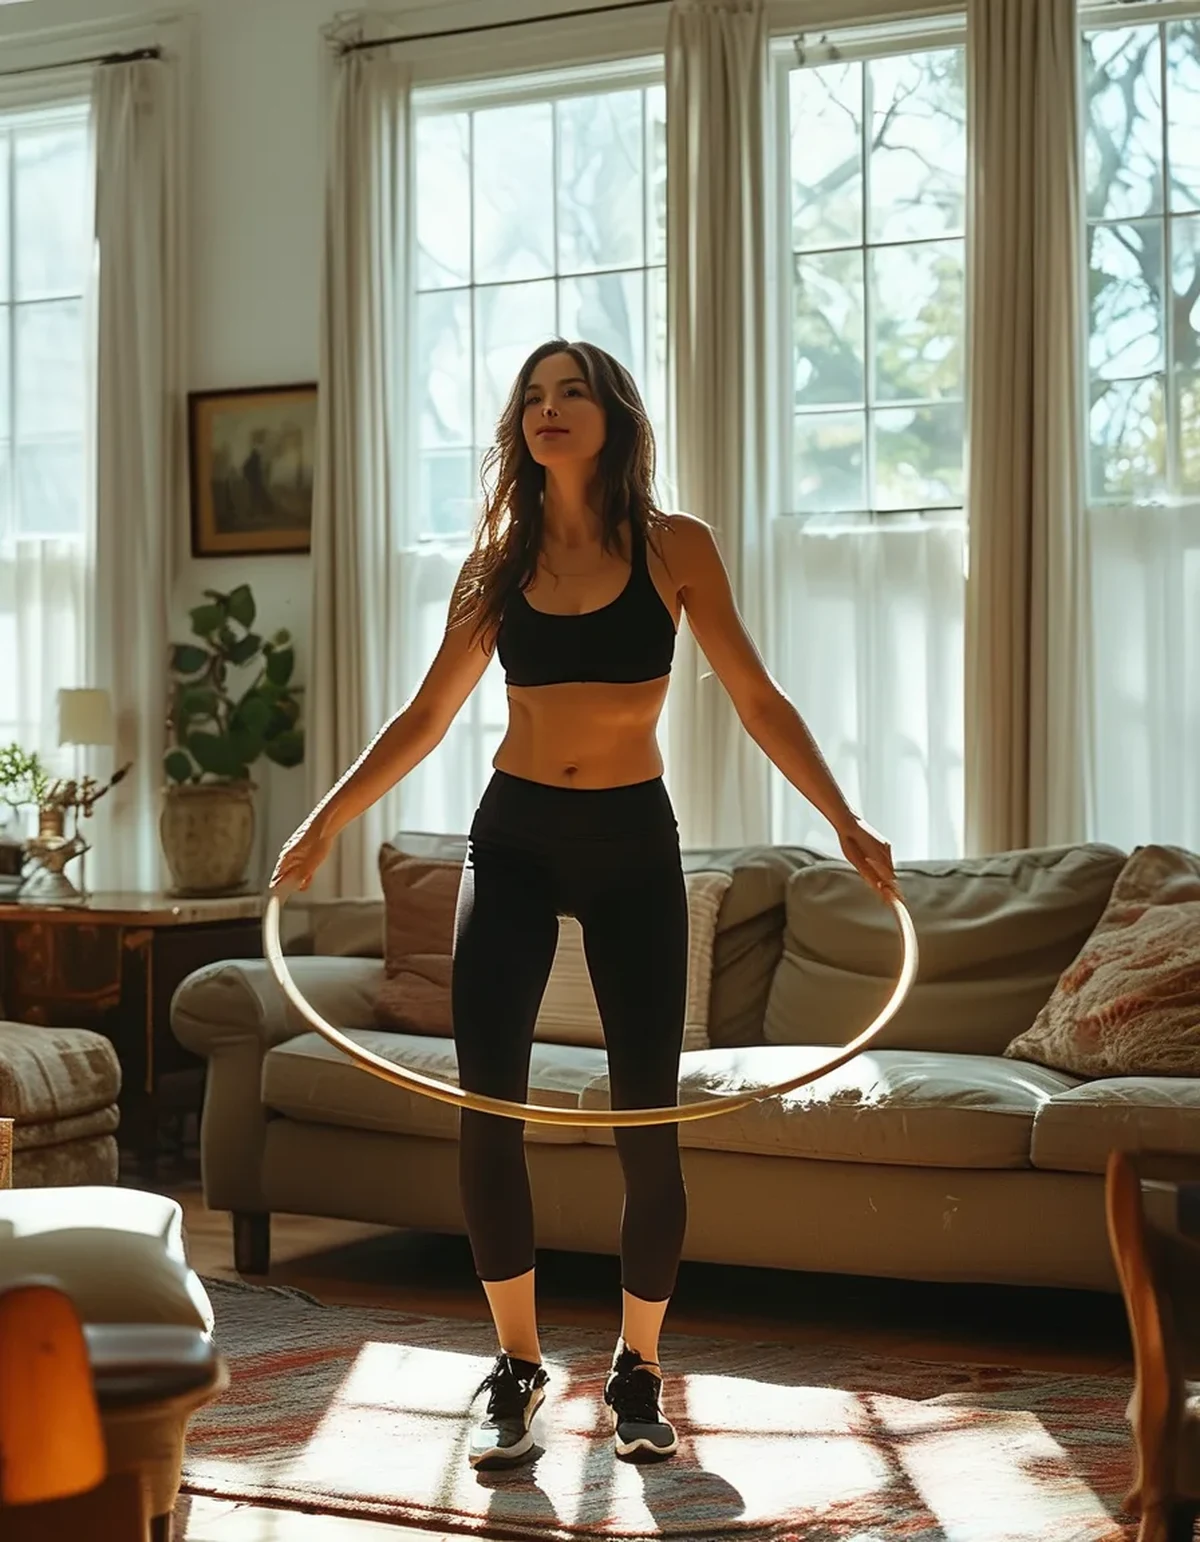
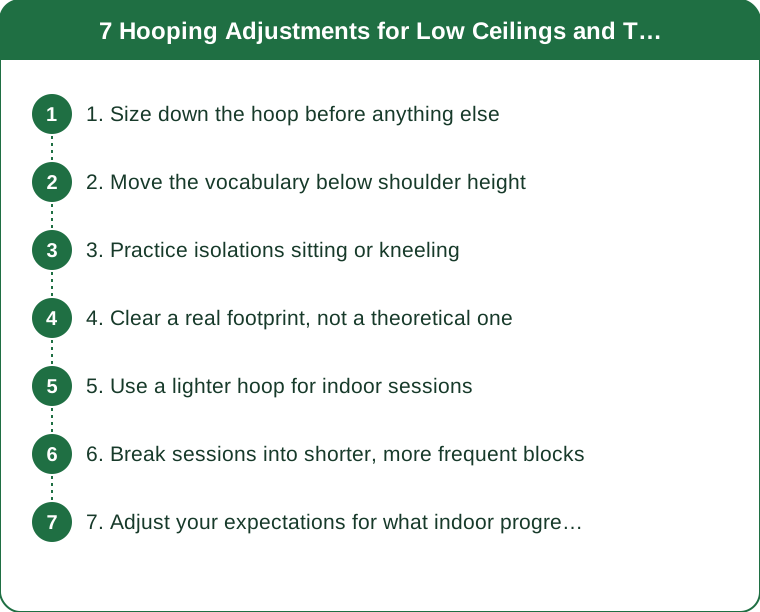
1. Size down the hoop before anything else
This is the highest-impact change and the one most people skip.
A larger hoop rotates more slowly and is easier for beginners — but its radius is what puts you into walls and furniture. Dropping from a 40-inch to a 36-inch hoop reduces your required clearance by two inches on every side, which in a tight room is often the difference between practicing and constantly resetting.
The tradeoff: smaller hoops rotate faster and demand more precise timing. Expect a step backward in control for the first week or two.
Practical approach: keep your larger hoop for outdoor sessions and buy a smaller one specifically for indoors. A second polypro hoop is inexpensive, and having a size that matches the space removes the friction that kills indoor practice.
2. Move the vocabulary below shoulder height
Take an honest look at what you actually can’t do. With an eight-foot ceiling and a hoop that’s three feet across, anything raising the hoop’s top edge above about six and a half feet is out.
What’s genuinely lost: overhead breaks, vertical wall planes at full extension, and most escalators that pass above the head.
What’s completely unaffected: waist hooping, chest hooping, all leg and knee work, horizontal-plane isolations, most weaves, and every transition between them.
The reframe: treat the ceiling as a constraint that pushes you toward the horizontal plane. Horizontal isolations and chest-height work are where most practitioners are weakest anyway, precisely because outdoors they default to the vertical vocabulary that feels more impressive.
3. Practice isolations sitting or kneeling
An underused trick that solves several problems at once. Kneeling drops your entire working height by about two feet, which puts overhead moves back within reach of a low ceiling.
It also forces isolations to be driven by the arms and shoulders rather than compensated for by stepping around — which is a genuine technique upgrade, not just a workaround.
How to use it: kneel on a folded blanket, work your isolation for 60-90 seconds, then stand and run the same move. Most people find the standing version noticeably cleaner immediately afterward, because kneeling removed the footwork they were unconsciously using to cover imprecision.
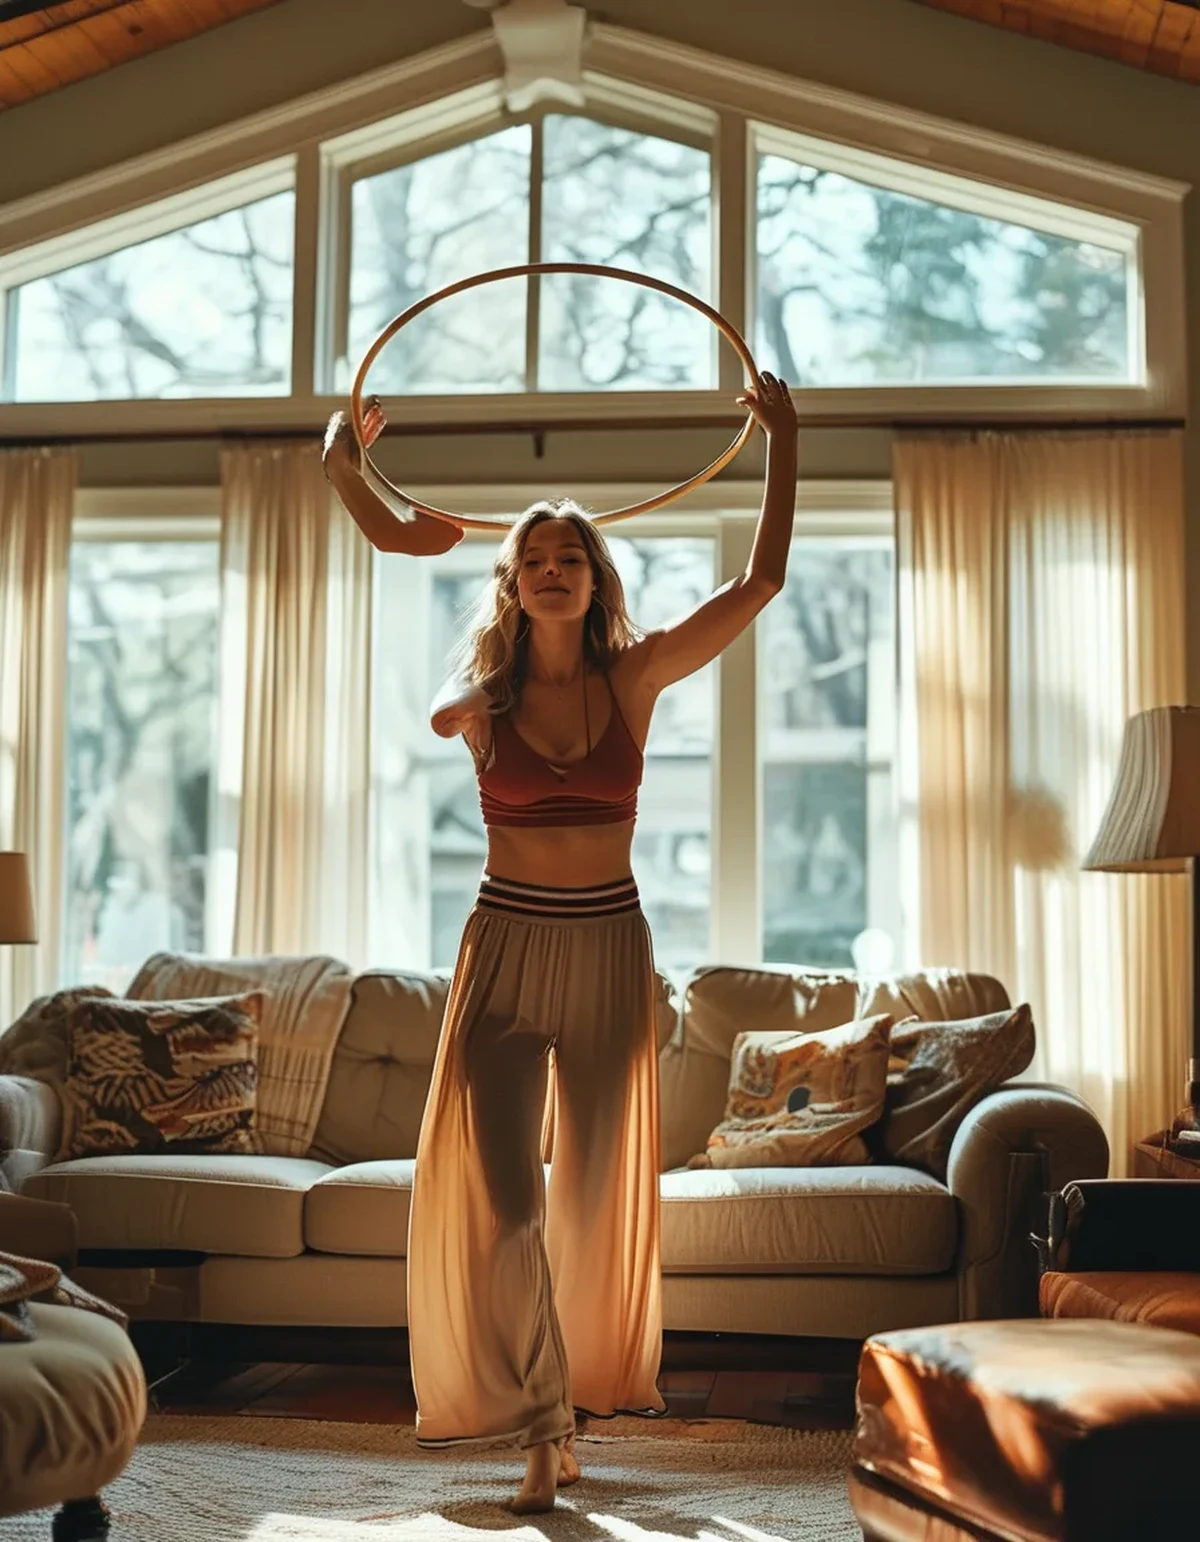
4. Clear a real footprint, not a theoretical one
The usual instruction is to clear a space larger than your hoop. That’s not enough — you need room for the hoop plus your movement through it.
A practical minimum: hoop diameter plus about three feet in every direction. For a 36-inch hoop, that’s roughly a 9x9 foot clear square.
If you can’t get that, work with your back to a wall and accept a reduced range of travel rather than practicing in a space where you’ll clip a lamp. Constantly stopping to rescue objects breaks the flow state that makes a practice worth doing.
Non-obvious hazards to move: ceiling lights and pendant fixtures, anything on a bookshelf at hoop height, and TVs. Floor lamps are the single most common casualty.
5. Use a lighter hoop for indoor sessions
Weighted hoops make sense for a fitness focus outdoors. Indoors, weight is a liability — a heavier hoop hits harder when it makes contact with furniture, walls, or you, and low ceilings mean contact is more likely.
A lighter polypro hoop reduces the consequence of every mistake and lets you practice at closer quarters without flinching. Flinching, incidentally, is what causes most of the collisions: tentative movement produces imprecise movement.
The bruising note: weighted hoops on the waist cause bruising in beginners, which is normal early on but shouldn’t be persistent. If you’re bruising regularly indoors, the lighter hoop solves it and improves your technique at the same time, since a light hoop demands better contact timing.
6. Break sessions into shorter, more frequent blocks
A tight room limits how long a flowing session can run before it feels repetitive — you simply have fewer directions to travel.
Rather than fighting that, restructure. Three 12-minute blocks across a day beat one frustrating 40-minute session in a cramped room, and the frequent-short pattern is generally better for skill acquisition anyway. Motor learning consolidates between sessions, so more sessions means more consolidation.
A workable indoor structure:
- Block 1: waist and chest, working on sustained control
- Block 2: one specific isolation, drilled
- Block 3: transitions between the two things above
Each fits comfortably in a small footprint, and you’ll cover more skill ground than a long unfocused flow.
7. Adjust your expectations for what indoor progress looks like
Indoor practice in a tight room progresses differently, and measuring it by the wrong yardstick makes people quit.
You will not build flowing sequences that travel. You will build precision, isolation quality, and control at reduced amplitude — all of which transfer directly outdoors, usually with a noticeable jump the first warm day you get back outside.
Better indoor progress markers:
- Clean isolations held for longer without drifting
- Transitions with no reset step in between
- The same move executed at reduced amplitude without losing shape
- Weak-direction work, which needs no space at all
Myth vs Fact: Myth — you can’t really progress hooping in a small indoor space. Fact — small spaces are excellent for the technical work most practitioners avoid outdoors, where there’s always room to travel out of a mistake instead of fixing it. Winter indoors is where technique gets built.
TL;DR:
- Size down the hoop for indoors — a 36-inch hoop buys two inches of clearance on every side.
- An eight-foot ceiling costs you overhead breaks and full-extension vertical work, and almost nothing else.
- Kneel to practice overhead isolations; it also cleans up the standing version.
- Clear hoop diameter plus three feet in each direction, and move the floor lamp.
- Measure indoor progress by isolation quality and weak-direction work, not by flowing sequences.
Take the smaller hoop, pick one isolation, and give it three 12-minute blocks this week. Indoor season is when the technical gaps get closed — and you’ll feel it the first time you get back outside.
Keep Reading
This article is for general informational and styling purposes only. Fit, sizing, and product availability may vary.