7 Hooping Mistakes You Only Notice on Video
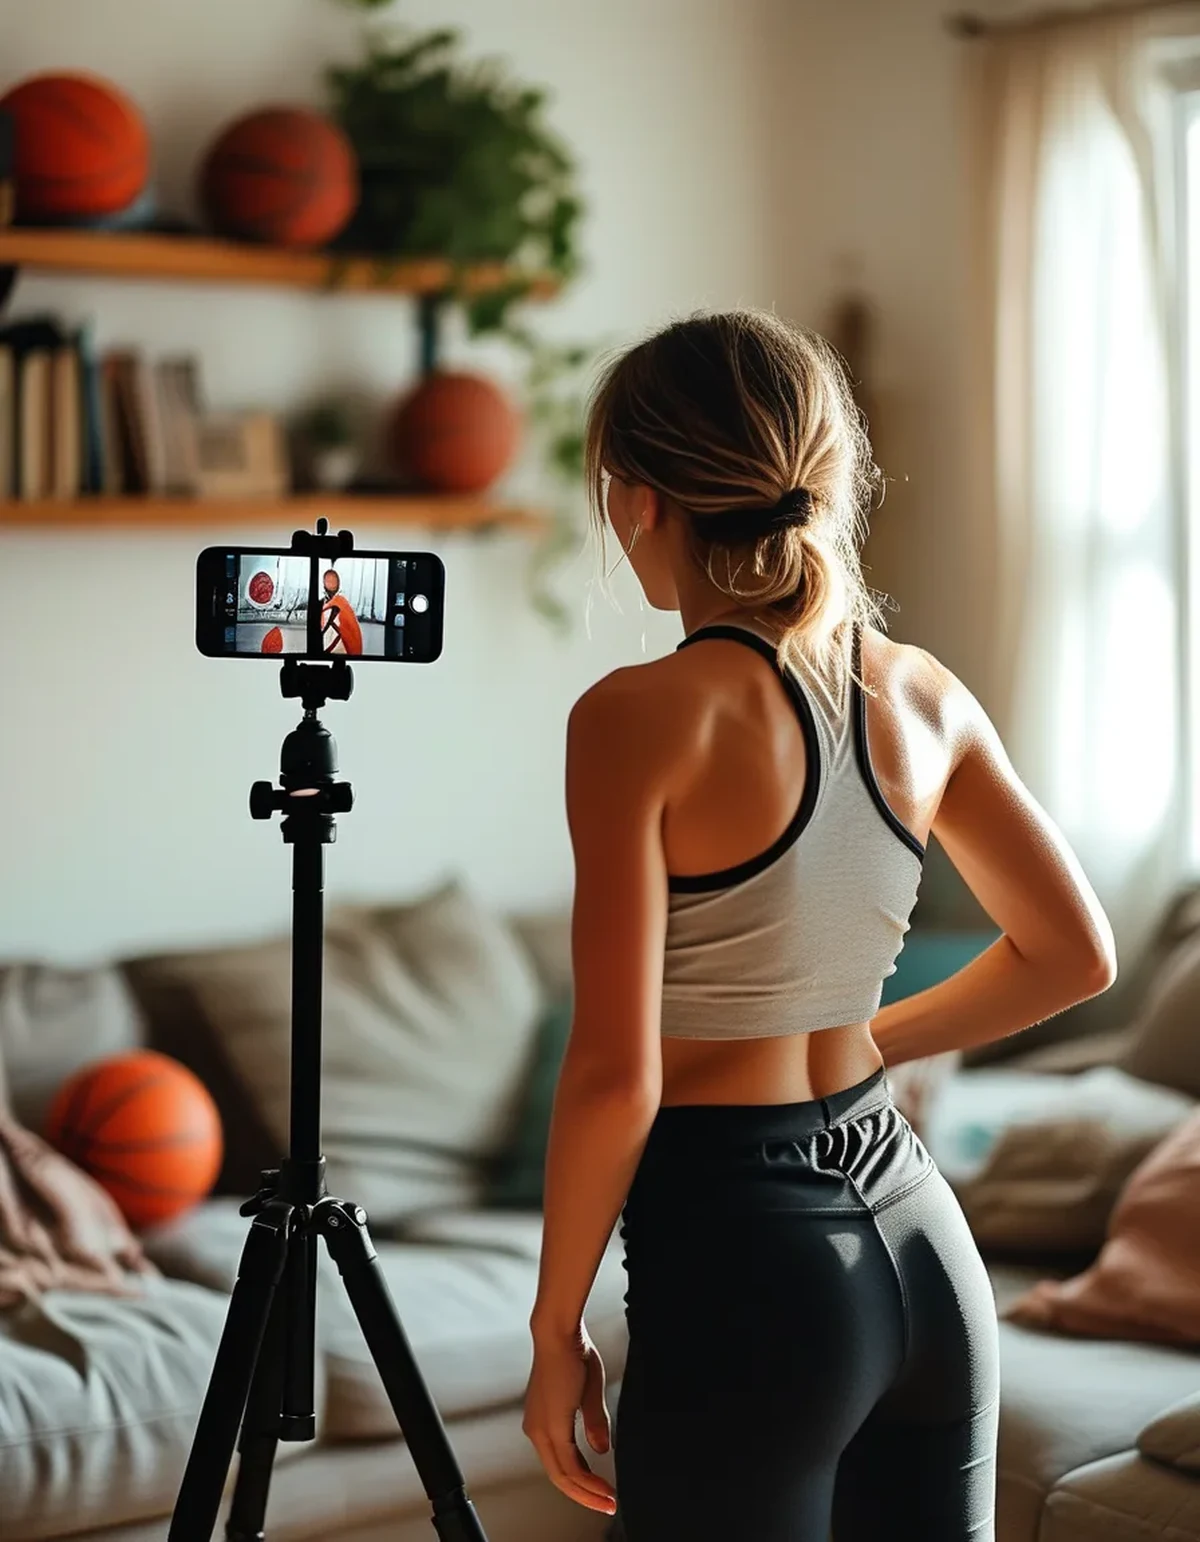
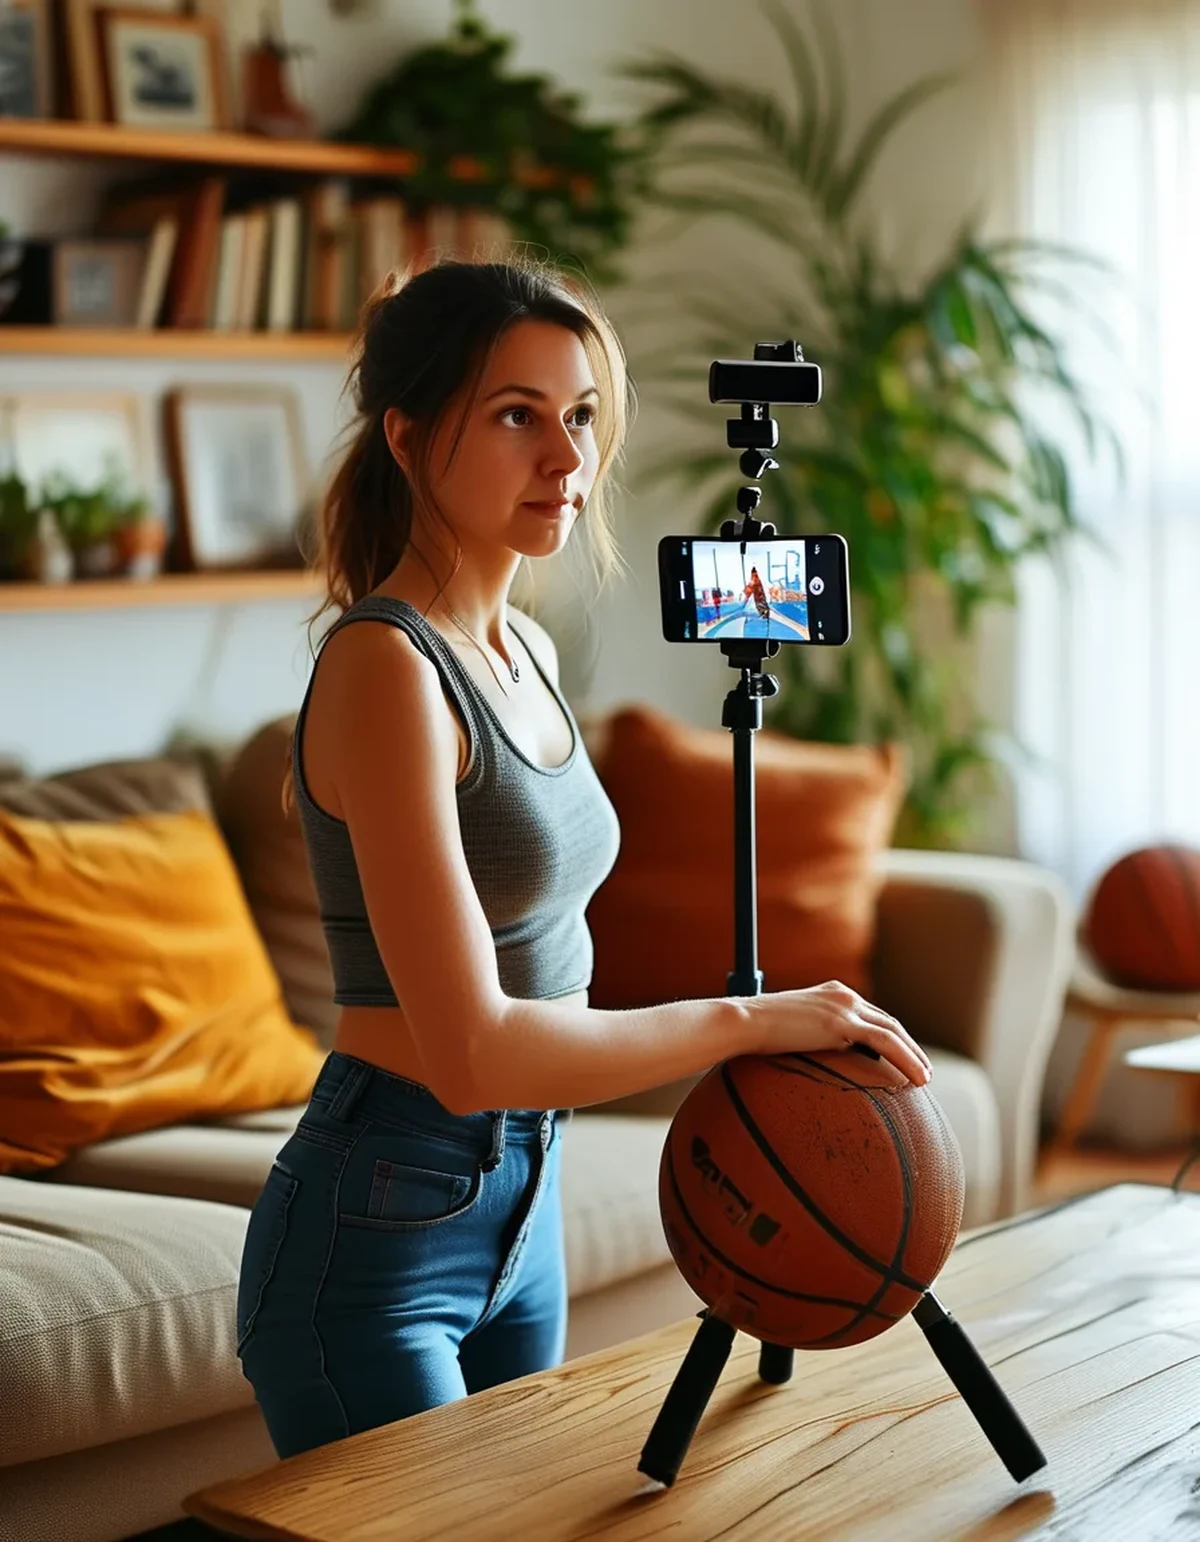
Quick Answer: The seven that show up almost universally: hips doing too much and ribs doing too little, shoulders creeping up, a collapsed chest, uneven weight through the feet, rushed transitions, eyes locked on the hoop, and holding your breath. All seven feel fine from inside and are obvious from outside. Film 60 seconds from the front and 60 from the side - the side angle reveals more, and almost nobody films it.
One minute of video will teach you more about your hooping than a month of practicing without it.
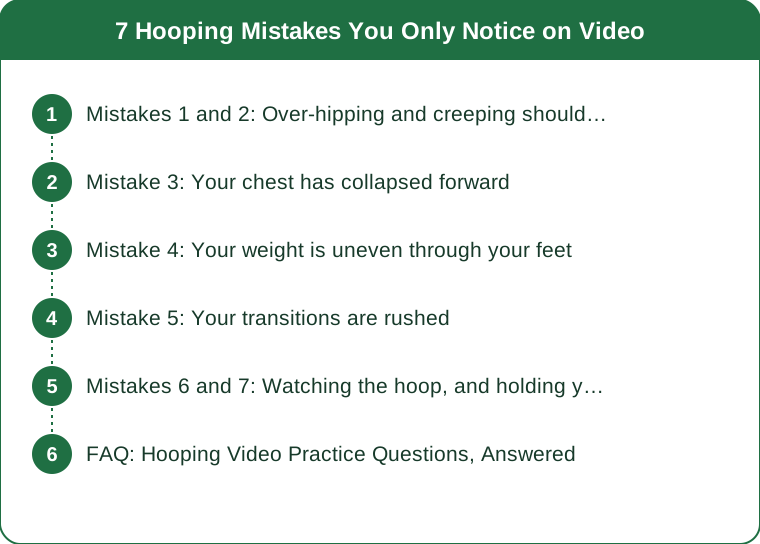
Mistakes 1 and 2: Over-hipping and creeping shoulders
1. Your hips are doing all the work
The most common thing video reveals. Sustaining a waist hoop needs a front-to-back push, not a circular hip swing - and most self-taught hoopers develop a large rotational hip motion that looks frantic on camera and costs enormous energy.
The efficient version is a small, quick push from the ribs and lower abdominals, with the hips relatively stable. On video, over-hipping looks like the whole lower body is swiveling; efficient hooping barely moves the hips at all.
Why it matters beyond aesthetics: excessive hip rotation is the most common source of the lower-back complaints hoopers report, and it caps how long you can hoop before fatigue ends the session.
The fix: practice with your feet in a small split stance and think push-push rather than circle-circle. Film it again after five minutes of that and the difference is usually visible immediately.
2. Your shoulders have climbed toward your ears
Universal and invisible from the inside. Concentration produces tension, tension lifts the shoulders, and lifted shoulders make everything look effortful.
On video it reads as a hunched, braced posture, and it restricts arm movement for any trick work above the waist.
The fix: a deliberate shoulder roll and drop every 30 seconds during practice until it becomes the default. It feels excessive and it is not.
Mistake 3: Your chest has collapsed forward
The side-angle video reveals this one and nothing else does.
Chest collapse happens gradually. As concentration builds, the sternum drops, the upper back rounds, and the head drifts forward. Twenty minutes in, most people are hooping in a noticeably slumped position.
It changes the mechanics, not just the look. A collapsed chest shortens the front of the torso, which reduces the space the ribs need to generate the push. The hoop drops more, and you compensate with more hip movement - which is how mistakes one and three feed each other.
It also restricts breathing, which is directly connected to mistake seven.
On video it is unmistakable from the side and almost impossible to see from the front, which is exactly why the side angle matters and why almost nobody films it.
The fix: a cue rather than a correction. Think of lifting the sternum slightly toward the far wall, or imagine the hoop is being kept up by your ribs rather than your waist. Check it in the side-angle footage every couple of weeks - it creeps back.
Mistake 4: Your weight is uneven through your feet
The mistake that produces one strong direction and one hopeless one.
Most hoopers have a dominant side, and the asymmetry usually starts at the floor. Weight sits more heavily on one foot, the pelvis tilts slightly, and the push becomes uneven without any awareness of it.
On video, the giveaway is a torso that drifts to one side or a stance that has quietly rotated away from square over the course of a minute.
It caps your non-dominant direction. Hooping in your weak direction feels impossible partly because you are attempting it from a stance that was built around the strong one.
It also loads one hip more than the other, which over months of practice is worth avoiding.
The fix: practice barefoot for a few sessions so you can feel the weight distribution, and deliberately alternate direction every 60 seconds rather than doing five minutes each way. Film the weak direction specifically - it is where the most improvement is available and where nobody looks.
Mistake 5: Your transitions are rushed
The single biggest difference between practice footage and performance footage.
Transitions are where the skill actually lives. Moving from waist to chest, changing direction, stepping through - these connecting moments are what make hooping look like dance rather than a series of separate tricks.
On video, rushed transitions read as a stutter. The hoop wobbles, the body braces, and there is a visible moment of recovery before the next thing begins.
The cause is usually anticipation. You start the next move before finishing the current one, which destabilizes both. Slowing the transition down almost always makes it more reliable, which is counterintuitive when it feels like speed is what carries you through.
Practice transitions in isolation. Take one transition and do it twenty times, slowly, without the rest of the sequence. This is dull and it works faster than anything else.
And film transitions specifically. A minute of just moving between two positions, repeatedly, tells you more than a five-minute flow does - because in a flow, you will unconsciously avoid the transitions you are worst at.
Mistakes 6 and 7: Watching the hoop, and holding your breath
6. Your eyes are locked downward
Watching the hoop feels necessary and is actively unhelpful. It drops the head, contributes to chest collapse, and prevents any sense of the whole body.
On video it reads as disconnected - a person looking at an object rather than a person moving. It is the most visible difference between beginner and experienced footage, more than any technical element.
The fix: find a fixed point at eye level and use it. This is uncomfortable at first because the visual feedback disappears, and it improves balance and posture within a few sessions. Off-body tricks require it anyway, so it is a prerequisite rather than a refinement.
7. You are holding your breath
Extremely common during concentration, and audible on video if you record sound.
Breath-holding tenses the torso, and a tense torso is a less responsive one. It also caps session length dramatically - the reason a lot of people can only hoop for two or three minutes is breathing, not fitness.
The fix: count out loud, or hum, or put on music with an obvious beat and breathe with it. If you cannot talk while hooping at a moderate pace, you are working harder than the movement requires.
Record with sound on for one session. The audio tells you as much as the picture.
FAQ: Hooping Video Practice Questions, Answered
How often should I film myself?
Once every week or two is plenty. Enough to catch drift, not so often that it takes over the practice. Two minutes of footage - one front, one side - is sufficient.
What angle is most useful?
The side angle, and almost nobody uses it. It reveals chest collapse, forward head position, and the actual size of the hip movement, none of which are visible from the front.
Should I film in a mirror instead?
Mirrors give instant feedback but keep your eyes locked on yourself, which reinforces mistake six. Video is better because you can review it with full attention afterward, without changing how you move while doing it.
Why does everything look worse on video than it feels?
Partly because the internal sense of movement is unreliable, and partly because you are watching with critical attention that you do not apply while moving. Watch for one specific thing per viewing rather than everything at once - it is far more useful and considerably less discouraging.
TL;DR:
- The seven: over-hipping, raised shoulders, collapsed chest, uneven foot weight, rushed transitions, eyes on the hoop, breath-holding.
- Film 60 seconds from the front and 60 from the side - the side angle reveals what the front cannot.
- The efficient waist hoop is a push from the ribs, not a swing from the hips - and over-hipping is behind most lower-back complaints.
- Practice transitions in isolation and film your weak direction specifically; that is where the improvement is hiding.
Watch each recording looking for one thing only. Trying to fix all seven at once produces a stiff, self-conscious practice - fixing one per fortnight produces someone who looks, six months later, like they have been doing this for years.
Keep Reading
This article is for general informational and styling purposes only. Fit, sizing, and product availability may vary.