7 Weighted Hoop Mistakes That Stall Your Progress
Quick Answer: Most weighted hoop problems come from a hoop that is too heavy, a push that is front-to-back instead of side-to-side, and sessions that never progress past the point where the movement got easy. Fixing weight and direction solves bruising and dropping; adding structure solves the plateau.
The weighted hoop is one of the few pieces of home fitness equipment that genuinely delivers on its promise — if you get past the first two weeks.
Most people do not. They bruise, they cannot keep it up, or they get good enough that it stops doing anything and it goes under the bed.
Seven fixable reasons, and none of them require a different hoop.
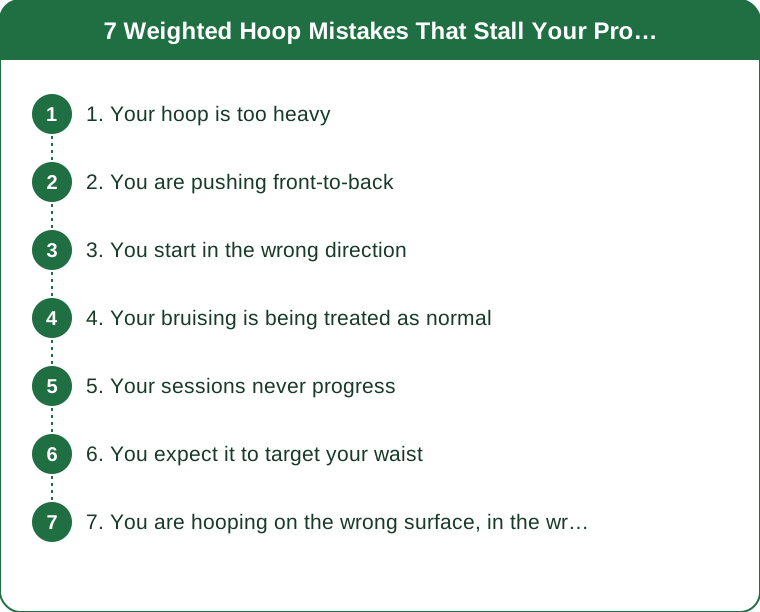
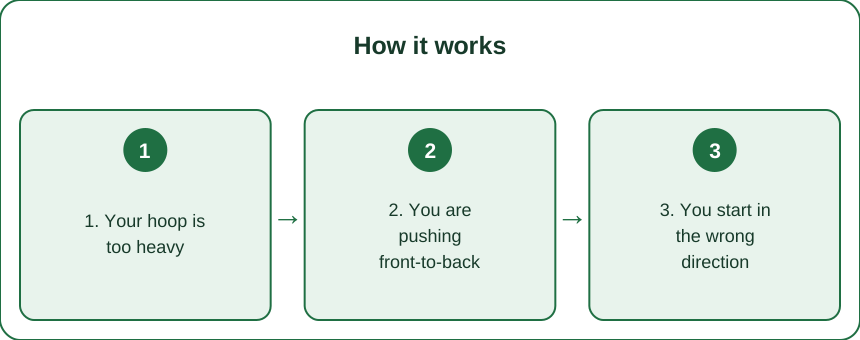
1. Your hoop is too heavy
This is the error that causes most of the others, and it is counterintuitive because heavier feels like it should be more effective.
A heavier hoop has more momentum, which means it stays up more easily — that is the appeal. It also means more force delivered into your torso on every rotation, and that force is what causes bruising. It also encourages a bigger, sloppier body movement, because you need more amplitude to keep a heavy hoop going.
The useful range for most adults is 2 to 3.5 lb. Beginners frequently start at 4 to 5 lb because that is what stays up, and end up with bruised hips and a movement pattern built around momentum rather than control.
Counterintuitive but correct: as your technique improves, you should be able to keep a lighter hoop going, and lighter is where the actual core work is. Progress in this discipline goes down in weight and up in duration, not the other way around.
2. You are pushing front-to-back
The movement that keeps a hoop up is lateral — a side-to-side shift of the hips and lower ribs, essentially a small standing weight shift, timed to the hoop’s rotation.
Most beginners default to a front-to-back pelvic tilt because it feels more like an ab exercise. It does not keep the hoop up, and it puts repeated flexion-extension stress through the lumbar spine, which is where lower back soreness from hooping comes from.
The correction, done standing without the hoop first:
- Feet slightly wider than hips, one foot a few inches forward for stability
- Shift weight from one foot to the other, letting the hips translate sideways rather than tilt
- Keep the ribs stacked over the pelvis — the movement is at the hips, not the waist
- Small amplitude. Two to three inches of travel is plenty with correct timing
Practice that motion for a full minute with no hoop, then add the hoop. The number of people whose hooping problem resolves in one session with this drill is high.
3. You start in the wrong direction
Nearly everyone has a dominant hooping direction and it is not related to handedness in any predictable way.
Starting in your non-dominant direction as a beginner produces exactly the frustration that ends the habit. Try both, spend the first two weeks in whichever works, and only then start training the other.
Training both directions eventually matters, and it is not just for symmetry — hooping in one direction only creates a real rotational asymmetry over months of practice. But it belongs at week three, not day one.
The simple test: give the hoop a spin in each direction and count rotations before it drops. Whichever number is higher is where you start.
4. Your bruising is being treated as normal
Some tenderness in the first week or two is expected as tissue adapts to the repeated contact. Visible bruising is not, and it is a signal that something in the setup is wrong.
The usual causes, in order:
- Hoop too heavy — see mistake one
- Hoop with hard ridges or aggressive massage nodules, which concentrate force into small areas. Smooth or foam-padded hoops distribute it
- Hooping on bare skin rather than over a fitted layer. A snug top adds a surprising amount of protection
- Sessions too long too early. Bruising is cumulative — 10 minutes daily is much gentler on tissue than 30 minutes twice a week
Stop for a few days if you bruise. Continuing on bruised tissue is how people end up with weeks of tenderness and a permanent association between the hoop and pain.
And the line worth naming: pain over the front of the hip bones or the lower ribs, rather than soft tissue, means stop and reassess. Bone contact is a fit problem, not a toughness problem. If you have any abdominal condition, are pregnant or recently postpartum, or have had recent abdominal surgery, check with a clinician before starting.
5. Your sessions never progress
The most common reason a hoop ends up under the bed is not difficulty. It is that it got easy and then stayed easy.
Once you can hoop continuously for ten minutes, the movement is no longer a meaningful stimulus. The heart rate settles, the core work becomes maintenance, and the session becomes something you do while watching television — which is fine, but it will not change anything and eventually your brain notices.
Progressions that actually add load:
- Direction switching within a session — 2 minutes each way, alternating, without letting the hoop drop
- Arm positions — arms overhead substantially increases core demand and heart rate
- Walking while hooping, which is much harder than it sounds
- Squat or half-squat hooping for lower-body load
- Interval structure — 90 seconds of fast rotation, 30 seconds slow, repeated
- Reducing hoop weight while maintaining duration, which is the cleanest progression of all
A workable structure: 20 minutes total, alternating 3 minutes of hooping with 1 minute of a bodyweight exercise — squats, push-ups, plank. This turns a stalled hoop habit into a genuine circuit session.
6. You expect it to target your waist
Worth saying plainly because it drives a lot of disappointed expectations.
Spot reduction is not a thing. Working the muscles under an area of fat does not preferentially remove fat from that area — fat loss follows total energy balance and is distributed by genetics and hormones, not by which muscle you worked.
What weighted hooping actually delivers is real and worth having: it is a low-impact cardiovascular exercise that raises heart rate into a useful zone, it trains the deep rotational and lateral core musculature that most training programs neglect, it is joint-friendly enough for people who cannot run, and it is adherent — people do it more consistently than most home cardio because it is genuinely pleasant.
Calorie expenditure is in the general range of a brisk walk — meaningful over time, not dramatic per session. If waist change is the goal, the hoop contributes as part of overall energy expenditure and core development, not as a targeting mechanism.
7. You are hooping on the wrong surface, in the wrong space
The environmental factors that quietly end the habit.
Carpet versus hard floor changes stability. A thick carpet makes the small weight shifts harder to execute cleanly. Hard floor or a low-pile rug is easier to learn on.
Ceiling height and clearance matter more than people plan for. A weighted hoop needs roughly three feet of clear radius, and the arms-overhead progressions need real ceiling height. Discovering this by hitting a lamp is a common way for the habit to acquire a negative association.
Footwear. Barefoot or flat shoes. Cushioned running shoes make the lateral weight shift mushy and imprecise.
Noise. A weighted hoop dropped on a hard floor in an apartment is loud, and the anxiety about that is enough to make people cut sessions short. A rug solves it.
And the seasonal note: hooping is one of the better answers to the autumn move indoors, because it needs no impact, minimal space, and produces a legitimate cardiovascular effect in a small room. If your outdoor cardio is about to become weather-dependent, this is a reasonable thing to build up now rather than in January.
This is general information, not medical advice.
TL;DR:
- Go lighter than feels right — 2 to 3.5 lb. Heavy hoops cause bruising and teach momentum instead of control.
- The movement is a lateral hip shift, not a front-to-back tilt; practice it for a minute with no hoop.
- Start in your dominant direction and add the other at week three.
- Visible bruising means something is wrong — usually weight, hoop ridges, or session length.
- Once ten minutes is easy, progress with direction switches, arm positions, walking, intervals, or a lighter hoop.
- Hooping will not target your waist, but it is genuinely good low-impact cardio and real rotational core work.
- Clear three feet of radius, use a rug, and go barefoot.
Keep Reading
This article is for general informational and styling purposes only. Fit, sizing, and product availability may vary.