Weighted Hula Hoop Bruising: When It Is Normal and When to Stop
Quick Answer: Mild tenderness and light bruising around the waist and hips during the first one to two weeks of weighted hooping is common and usually resolves as tissue adapts and technique smooths out - the hoop is repeatedly tapping the same soft-tissue real estate, and untrained skin objects. Bruises that are large, dark, painful to light touch, spreading, or still appearing after three weeks mean something is wrong: a hoop too heavy, too aggressive a schedule, jerky technique, or bare skin taking direct contact. Fixable, all of it - and worth fixing rather than pushing through.
Day three of the new hoop: two tender spots on your hip bones, a faint bloom of blue near your waist, and a search history full of is this normal. Mostly, yes - with a real asterisk worth two minutes of your time.

Why weighted hoops bruise people at all
The mechanism is boring and the details are useful.
A weighted hoop is a repeated-impact device by design. Every rotation, the inner edge presses and releases against your waist and hips - hundreds of gentle taps per session, landing on the same narrow band of tissue. Capillaries near the surface are not conditioned for that pattern, and a few leak; that is a bruise. It is the same reason new rowers blister and new lifters callus: tissue meeting a novel, repetitive stress.
The first weeks are the worst by design too. Two things improve simultaneously with practice: your tissue adapts (skin and the tissue beneath tolerate the pattern better), and your technique smooths (the hoop rides in a steady orbit instead of bouncing). Beginners keep hoops up with jerky, oversized hip movements that turn a smooth orbit into a series of collisions. As the rhythm settles, impact per rotation drops dramatically - which is why the bruising typically fades right as you stop thinking about keeping the hoop up.
Weight and speed multiply everything. A heavier hoop carries more momentum into each contact; a fast, panicked rotation carries more still. The counterintuitive part: hoops that are slightly heavier and larger rotate slower and are often gentler than small light hoops whipped around at speed. The bruising question is force per contact, not weight on the label alone.
Anatomy assigns the sore spots. The bony landmarks - hip points at the front, the crest at the sides - concentrate contact where padding is thinnest, which is why bruises cluster there rather than spreading evenly. Softer midsections spread the load better; leaner, bonier frames feel more per tap. Neither is doing it wrong; they are running different chassis.
The normal-versus-not checklist
Normal in weeks one and two: faint pink or light blue marks over hips and waist, tenderness that feels like day-after-workout soreness, warmth in the contact band after sessions, and steady improvement week over week. This pattern with an upward trend is adaptation doing its job.
Not normal at any point: bruises that are deep purple or black, larger than a palm, painful at the brush of a waistband, swelling you can feel as a raised area, marks appearing after every session beyond week three, or new bruising that arrives with less hooping rather than more. Any of those means the current combination of hoop, schedule, and technique is out beyond adaptation - stop and change inputs before continuing.
The three-week rule is the cleanest line. Adaptation shows visible progress inside three weeks for almost everyone hooping sensibly. Persistent fresh bruising past that point is not a slow adapter; it is a mismatch - most often a hoop too heavy for current technique, sessions too long for current tissue, or a wave motion that is still fighting the hoop instead of riding it.
Session length is the dial people forget. Ten minutes daily bruises far less than seventy minutes on Saturday - the same weekly volume, wildly different per-session stress. Early weeks want short and frequent: five to fifteen minutes, stopping while the waist still feels fine, because contact soreness lags the session by hours.
And one health caveat that outranks all technique talk: anyone on blood thinners, with a clotting or platelet disorder, or who bruises dramatically from minor bumps elsewhere should clear repeated-impact exercise with their clinician first - and unexplained bruising with no hoop involved at all is a doctor conversation, not a fitness one.
This is general information, not medical advice.
What Nobody Tells You About Hoop Bruising
Clothing is legitimate protective equipment here. A single snug layer between hoop and skin - a fitted tank tucked in, or high-waisted leggings pulled up over the contact band - measurably softens each tap without changing the workout. Bare-midriff hooping looks like the videos and bruises like a rookie; even dedicated hoopers who train heavy keep a layer over the hip points. If one spot still takes too much, a folded band of soft fabric under the waistband targets padding exactly where your anatomy concentrates contact.
The wave should be small and boring. The instinct is to swing the hips in big circles; the technique is a compact front-to-back or side-to-side pulse that lets the hoop orbit around a quiet center. Big circles chase the hoop and collide with it. If your marks sit in two opposite spots, that is the fingerprint of a two-point collision rhythm - shrink the movement and the marks move toward none.
Direction imbalance shows up on one side. Everyone has a natural spin direction, and hooping only that way concentrates contact asymmetrically. Splitting time between directions feels absurdly clumsy the first week and evens out both the skill and the bruising map.
Foam-covered and wave-profile hoops are not cheating. Padded hoops spread contact over more surface; heavy-ridged massage style hoops do the opposite, concentrating pressure on purpose - they are the bruisiest design on the market, whatever the listings promise about the ridges. Beginners bruising badly on a ridged hoop should not conclude hooping is not for them; they should conclude that hoop is not.
And the marks fade into a milestone. Somewhere around week three or four, hoopers notice sessions ended and nothing is sore - the skill and the skin arrived together. The waist that once bruised under ten minutes now handles thirty without comment. It is one of the fastest, most tangible adaptation arcs in home fitness, which is quietly great for motivation.
How to keep hooping while the bruises heal
No need to quit - just change the inputs.
Drop to short daily sessions. Five to ten minutes, once or twice a day, stopping before tenderness starts rather than after. Frequency builds skill; brevity protects tissue. This combination is the fastest route through the adaptation window, not a detour around progress.
Check the hoop size before the weight. Standing the hoop in front of you, a beginner-friendly weighted hoop generally reaches somewhere between waist and lower chest - larger rotates slower and gentler. Too-small is the hidden cause of a surprising share of bruising complaints, because small means fast, and fast means force.
Two pounds is plenty for most beginners. The three-to-five pound hoops sell on the promise of more, and deliver more mostly in contact force. Until the smooth-orbit technique is automatic, extra weight buys bruises, not results - the workout intensity you want comes from duration and movement, and can come later from speed changes and choreography rather than mass.
Alternate the contact band. Hoop slightly higher at the waist one session, lower on the hips the next; switch directions midway; mix in non-contact drills (halo passes, walking rotations, footwork with the hoop in hand) that build coordination while the waist rests. Skill keeps compounding even on tissue-rest days.
Treat existing bruises like any minor bruise. Time does the work; a cool pack in the first hours helps larger ones; gentle movement is fine. Resume normal contact sessions when pressing the area with a finger is comfortable, not while it still flinches.
And log the trend, not the day. A two-line note after sessions - minutes, and how the waist feels next morning - turns is this working into a visible curve. The curve should bend toward less soreness per minute every week; if it does not, change the hoop or the schedule, because the data just told you something.
FAQ: Weighted Hoop Bruising, Answered
How long does hula hoop bruising last for beginners?
Typical week-one marks fade in a few days to a week, and the tendency to bruise at all usually resolves within two to three weeks as technique smooths and tissue adapts. Individual bruises lingering longer than two weeks, or fresh crops appearing past week three, mean the setup needs changing rather than more toughing out.
Should I stop hooping until bruises fully heal?
Stop direct contact on tender areas, but you can usually keep training: shorter sessions on comfortable zones, direction switches, and non-contact hoop drills. Resume normal sessions when finger pressure on the old marks feels unremarkable. Pain-to-touch and swelling mean actual rest for that area.
Is a heavier hoop better for results?
Not for beginners - added mass mostly adds contact force until orbit technique is smooth. Two pounds with good rhythm out-trains four pounds of collisions, and progress comes cleaner from added minutes, direction work, and speed control. Heavier hoops are a later chapter, not a shortcut.
Why do I only bruise on the hip bones?
Because bony landmarks concentrate contact where padding is thinnest - it is geometry, not error. A snug layer over the points, a slightly larger and slower hoop, and a smaller hip pulse all reduce it. A folded soft band under high-waisted leggings over the exact spot works as targeted armor.
When are hoop bruises a medical question?
When they are large, black-purple, swollen, painful to light touch, spreading, or appearing out of proportion to the activity - and any time easy bruising shows up elsewhere in life too. People on blood thinners or with clotting disorders should ask before starting weighted hooping at all. Everything milder is a technique-and-equipment conversation.
TL;DR:
- Light marks and tenderness in weeks one and two are common: hundreds of small taps on unconditioned tissue, worsened by jerky beginner technique.
- The three-week rule - visible improvement or something is mismatched: hoop too heavy or small, sessions too long, orbit still colliding.
- Fixes that work: a snug fabric layer over the contact band, bigger-slower hoop around two pounds, compact hip pulse, both directions, short daily sessions.
- Dark, palm-sized, swollen, touch-painful, or spreading bruises - and any easy-bruising pattern beyond the hoop - are stop-and-check signals, not badges.
- The soreness arc ends as a milestone: around week three the skill and the skin arrive together.
The hoop is not punishing you; it is negotiating with tissue that has never done this job. Give it two smart weeks - short sessions, one good layer, a smaller wave - and the negotiation ends in your favor.
See It in Motion
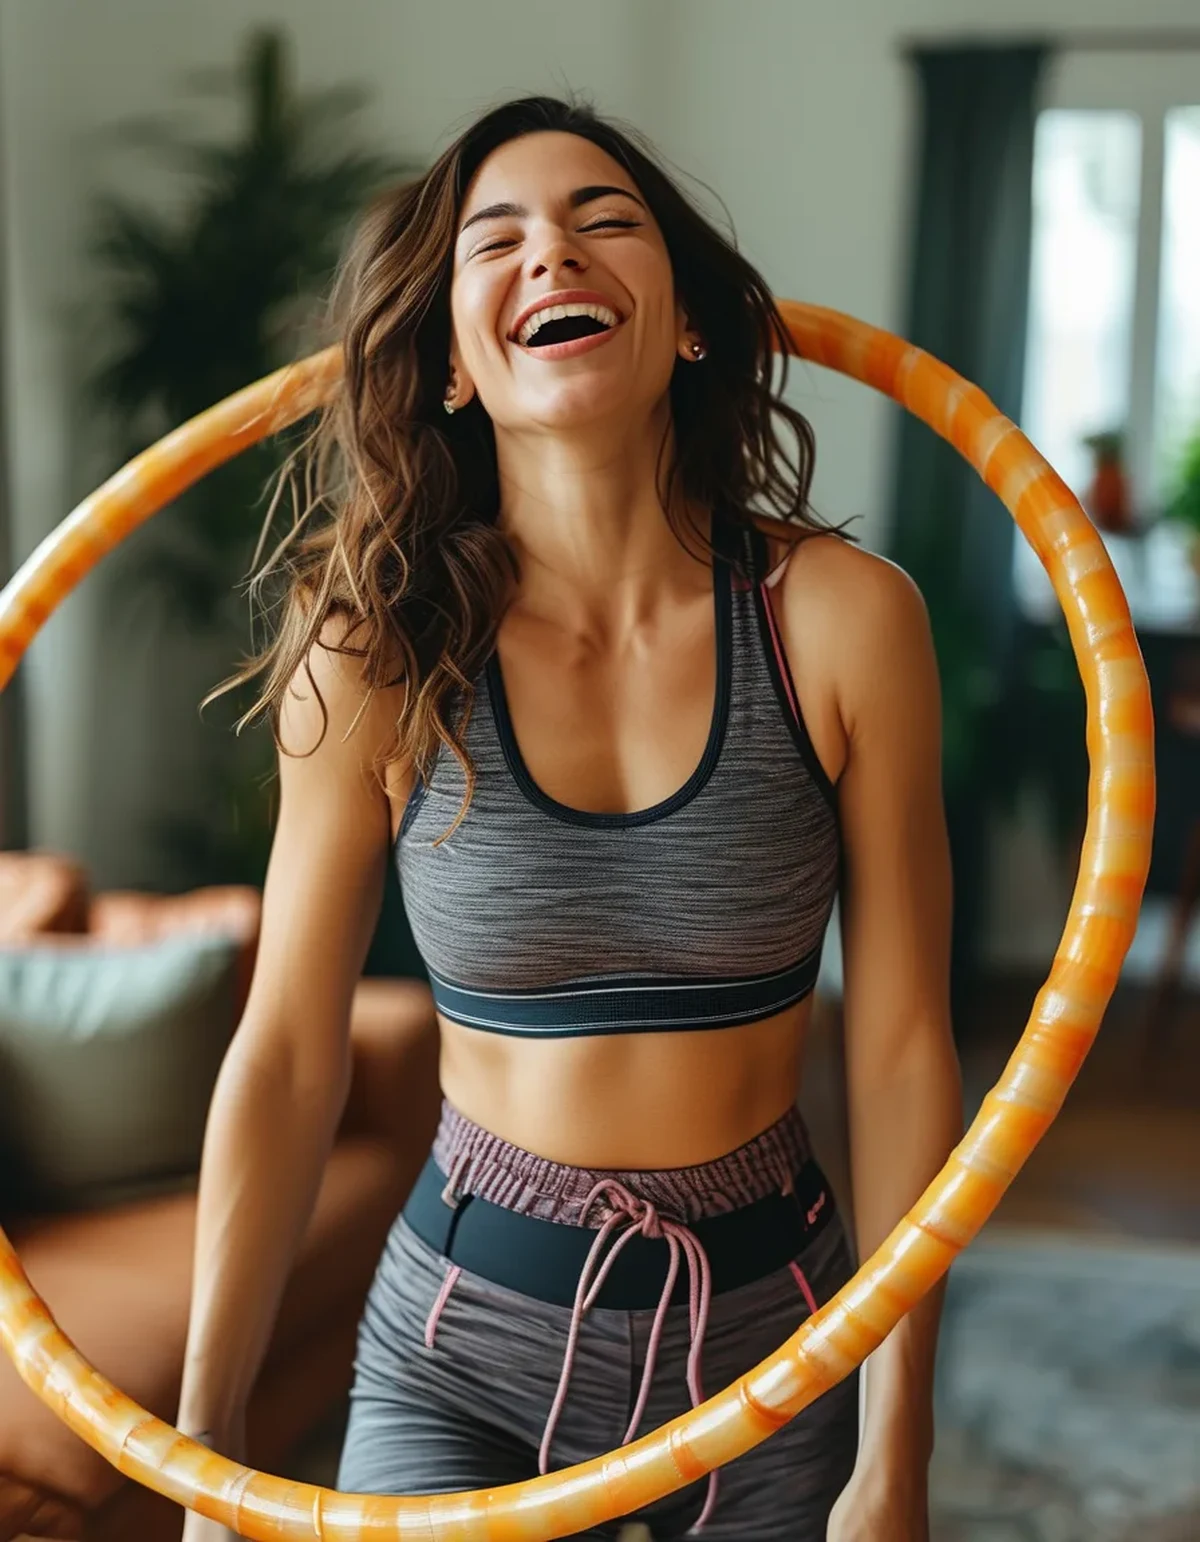
Seen here: Super High Waist Embossed Yoga Leggings with Inner Pocket — shop it on bubblelime.com
Keep Reading
This article is for general informational and styling purposes only. Fit, sizing, and product availability may vary.